Nail Art Techniques and Tutorials
Key Takeaways
- Explore various techniques to create stunning nail art.
- Learn step-by-step tutorials for beginners to advanced levels.
- Find the best practices for nail art tools and accessories.
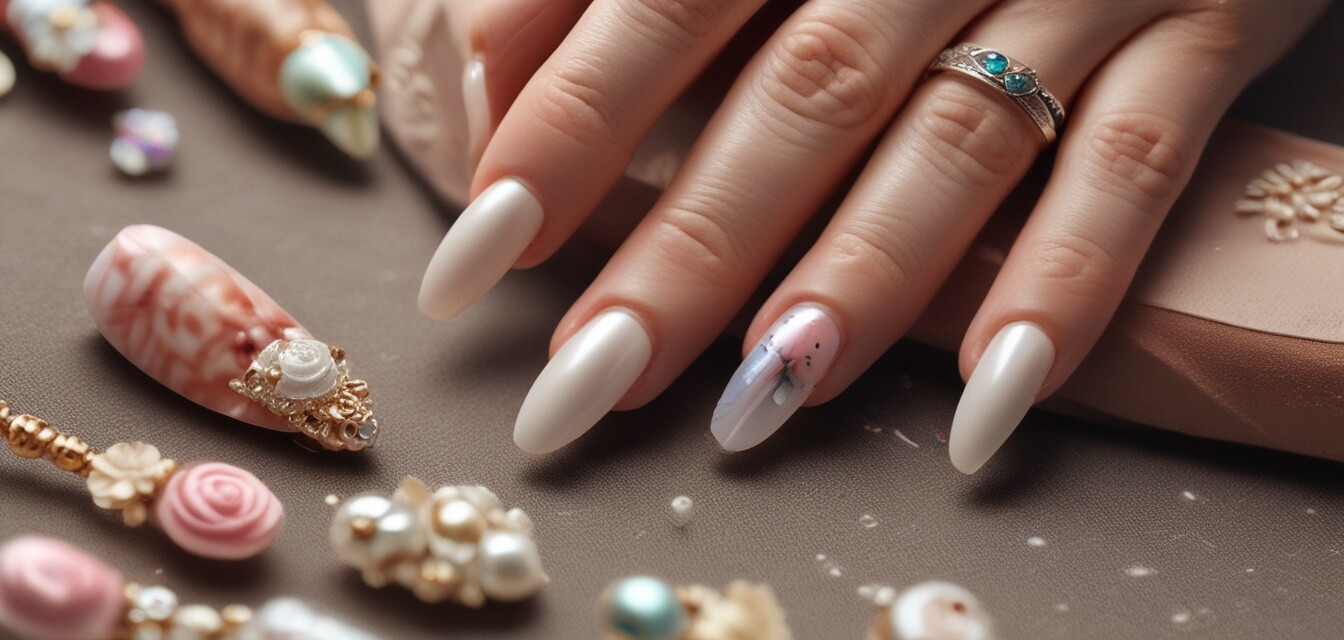
Nail art is a captivating way to express personal style and creativity. With a variety of techniques available, from basic to intricate designs, anyone can master the art of beautifying their nails. In this article, we will explore different nail art techniques and provide detailed step-by-step tutorials to help you achieve perfect designs.
1. Essential Nail Art Techniques
Before diving into the tutorials, it’s crucial to understand the fundamental techniques that form the basis of nail art. Here are some essential techniques to get you started:
| Technique | Description |
|---|---|
| Striping | Using a thin brush or tape to create patterns or lines. |
| Sponging | Using a makeup sponge to blend multiple colors smoothly. |
| Dotting | Creating dots with a dotting tool or a pin for detailed designs. |
| Marbling | Swirling different nail polishes together for a unique look. |
| Stamping | Transferring images on the nails using specialized tools. |
2. Nail Art Tutorials
Now that you have a grasp of the essential techniques, let’s dive into some exciting tutorials. Each tutorial will guide you through the steps to achieve a specific design.
2.1 Basic Polka Dot Nails

- Start with a base coat to protect your nails.
- Apply a solid color for the base; let it dry completely.
- Using a dotting tool, dip into a contrasting color.
- Carefully place dots on your nails in a pattern of your choice.
- Finish with a clear top coat to seal the design.
2.2 Gradient Nails

- Apply a base coat and choose two complementary colors.
- Use a makeup sponge to apply the first color at the tip.
- Apply the second color at the base, blending with the first color.
- Lightly dab the sponge onto your nails to achieve the gradient effect.
- Seal your design with a top coat for a smooth finish.
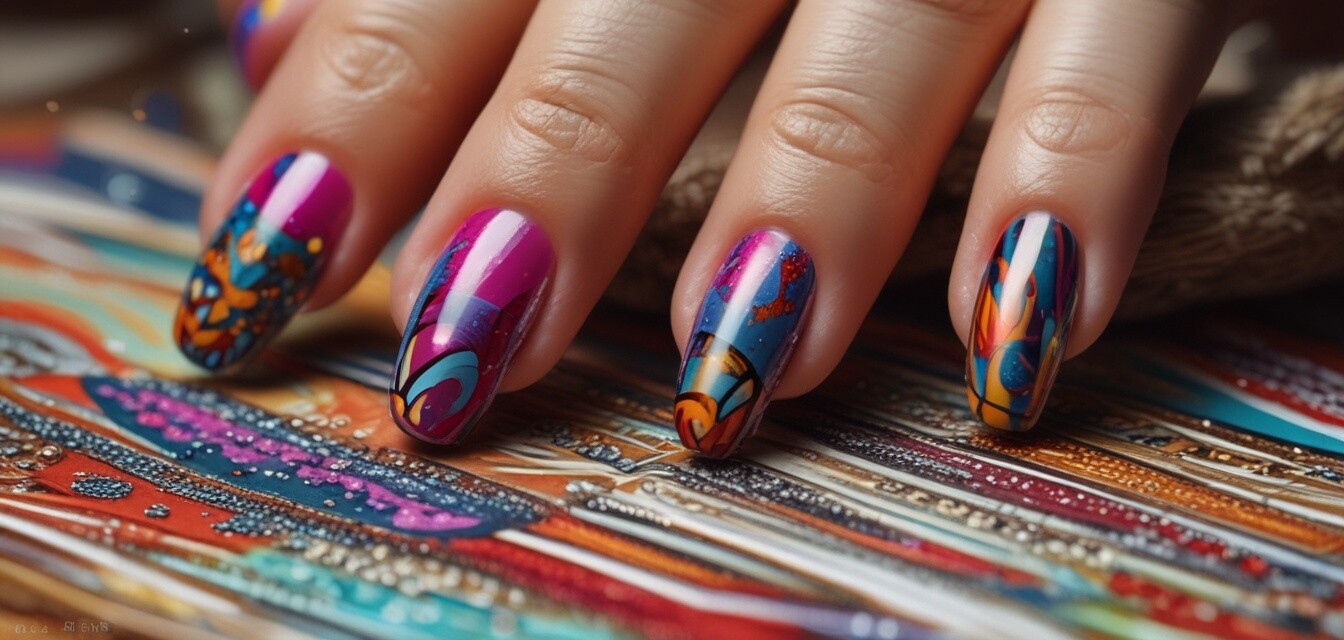
2.3 Marble Nails

- Prepare your nails with a base coat.
- Drop different nail polish colors into a bowl of water.
- Use a toothpick to swirl the colors for a marbled effect.
- Dip your finger into the water to transfer the design to your nail.
- Remove excess polish, then finish with a top coat.
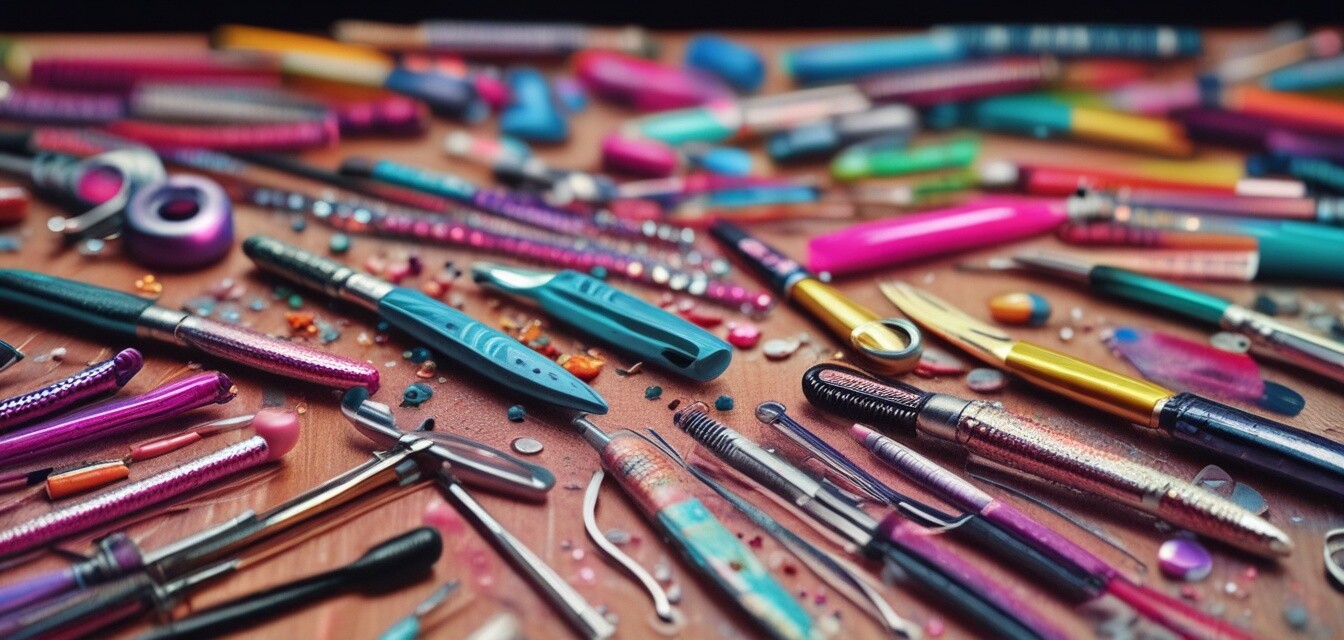
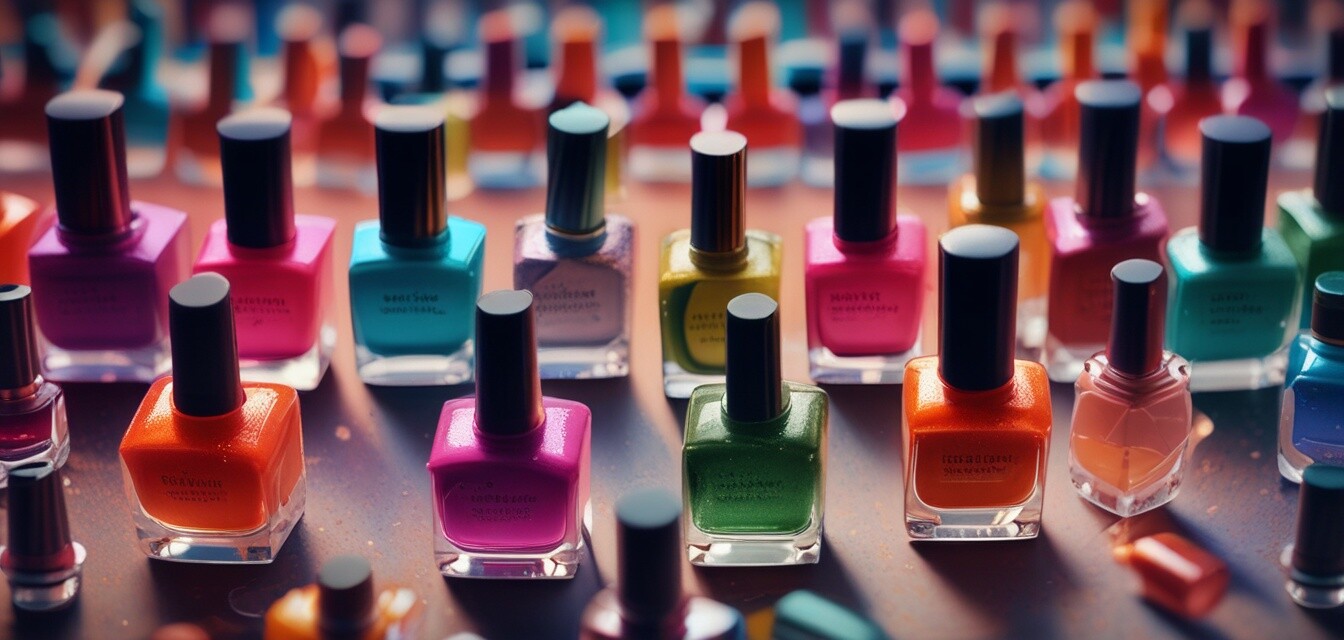
3. Tools and Accessories for Nail Art
To create captivating nail designs, having the right tools is essential. Below is a list of common nail art tools you might consider adding to your collection:
| Tool | Purpose | Best For |
|---|---|---|
| Dotting Tool | Creates dots and intricate designs. | Beginners and advanced designs. |
| Nail Art Brushes | For painting detailed lines and patterns. | Advanced designs. |
| Makeup Sponge | Used for blending colors. | Gradient and sponge techniques. |
| Stencils | Helps create specific shapes and patterns. | Beginners and intricate designs. |
| Stamping Plates | Transfers designs onto nails. | Quick and efficient designs. |
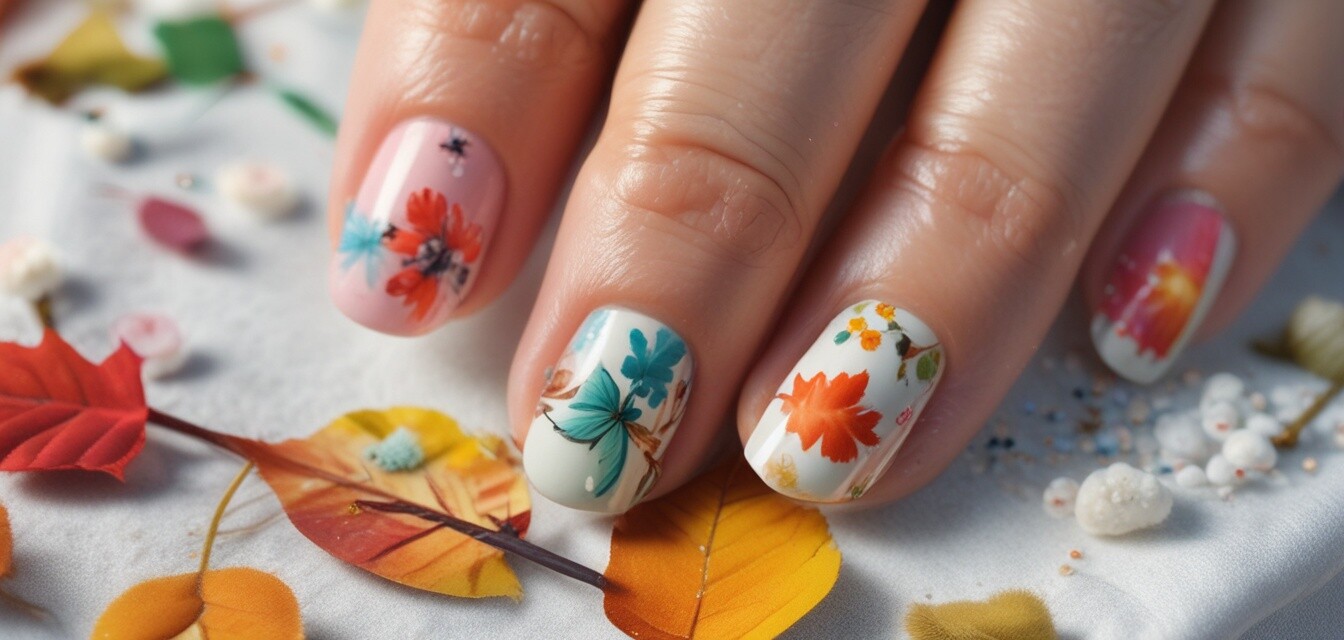
4. Seasonal Nail Trends
Staying current with seasonal trends can inspire nail art designs. Here are some popular seasonal nail trends to explore:
- Spring: Floral designs and pastel colors
- Summer: Bright colors and tropical patterns
- Autumn: Earth tones with leaf patterns
- Winter: Glittery designs and snowflake patterns
5. Tips for Beginners
Beginner Tips
- Start practicing with simple designs before moving on to complex ones.
- Invest in quality nail art supplies for better results.
- Don’t rush; allow each layer of polish to dry properly.
- Try using tape to create clean lines and shapes.
- Follow online tutorials to explore new techniques.
Conclusion
Nail art is an enjoyable and creative way to personalize your look. By practicing different techniques and utilizing the right tools, you can master beautiful nail designs that showcase your unique style. Don’t hesitate to experiment and let your creativity shine!
Pros
- Allows for personal expression and creativity.
- Wide variety of techniques and styles to choose from.
- Can be done at home with minimal tools.
Cons
- May require practice to achieve desired results.
- Some tools can be costly.
- Time-consuming depending on the complexity of the design.